1. Accessing the Support Center
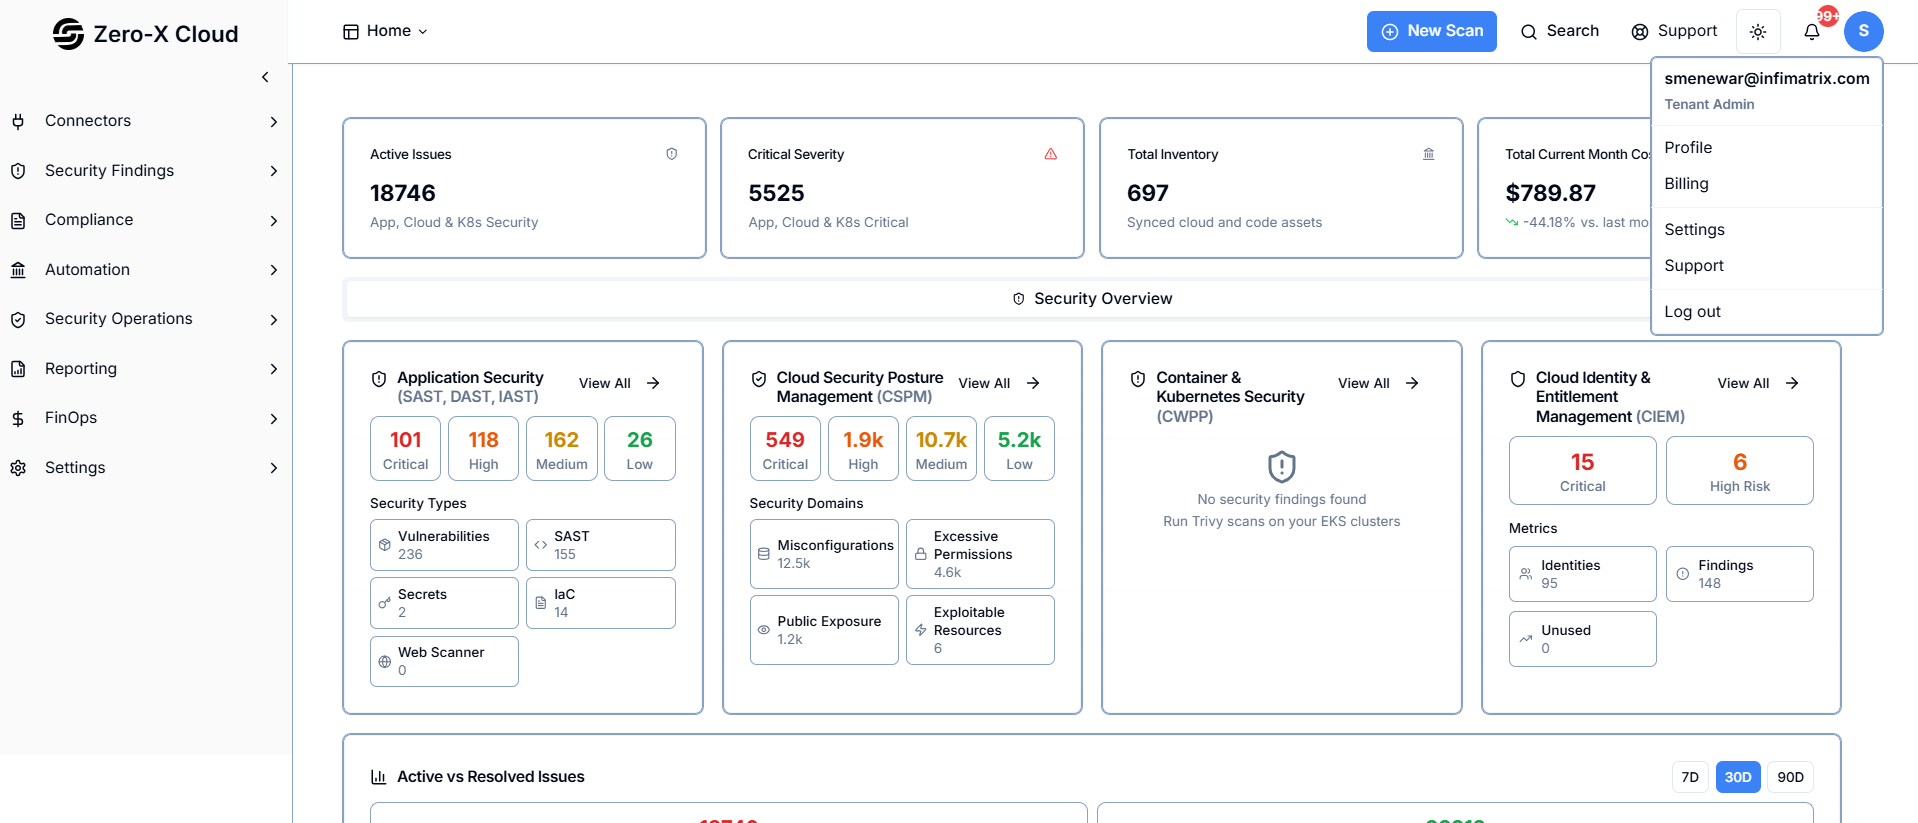
Step 1 :- Click the Profile Icon in the upper-right corner of the application.Step 2 :- Select Support from the dropdown menu.
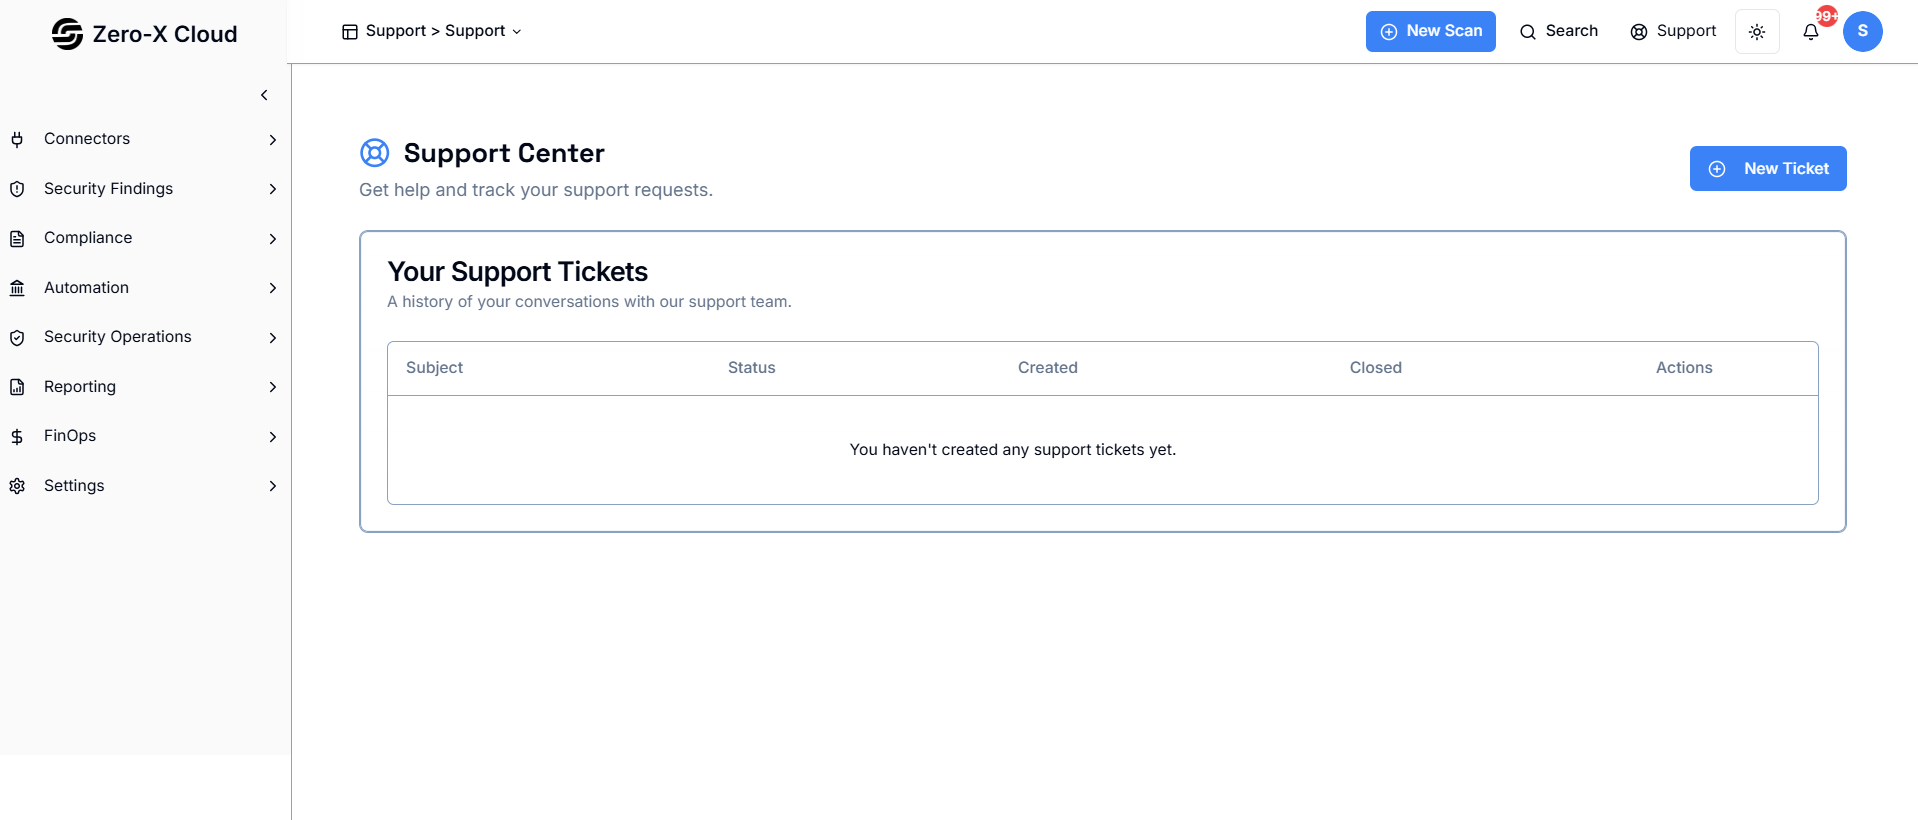
Step 3 :- The application redirects to the Support Center page, where all support tickets are listed.
2. Support Center Overview
The Support Center displays a table of all previously created tickets. Each record contains :-a :- Subject
b :- Status
c :- Created Date
d :- Closed Date
e :- Actions (Edit / Delete) If no tickets exist, a message is displayed indicating that no support tickets have been created.
3. Creating a New Support Ticket
- Click New Ticket on the Support Center page.
- Enter a Subject that briefly summarizes the issue.
- Enter a Description with detailed information, including steps to reproduce the problem if applicable.
- Click Submit Ticket to create the ticket.
- A confirmation message appears, and the new ticket is added to the Support Tickets list.

4. Managing Existing Tickets
4.1 Editing a Ticket
> Locate the ticket in the Support Tickets table.> Click Edit in the Actions column.
> Update the Subject or Description as needed.
> Save the changes.
4.2 Deleting a Ticket
> Find the ticket you want to remove.> Click Delete in the Actions column.
> Confirm deletion when prompted.
> The ticket is permanently removed from the list.
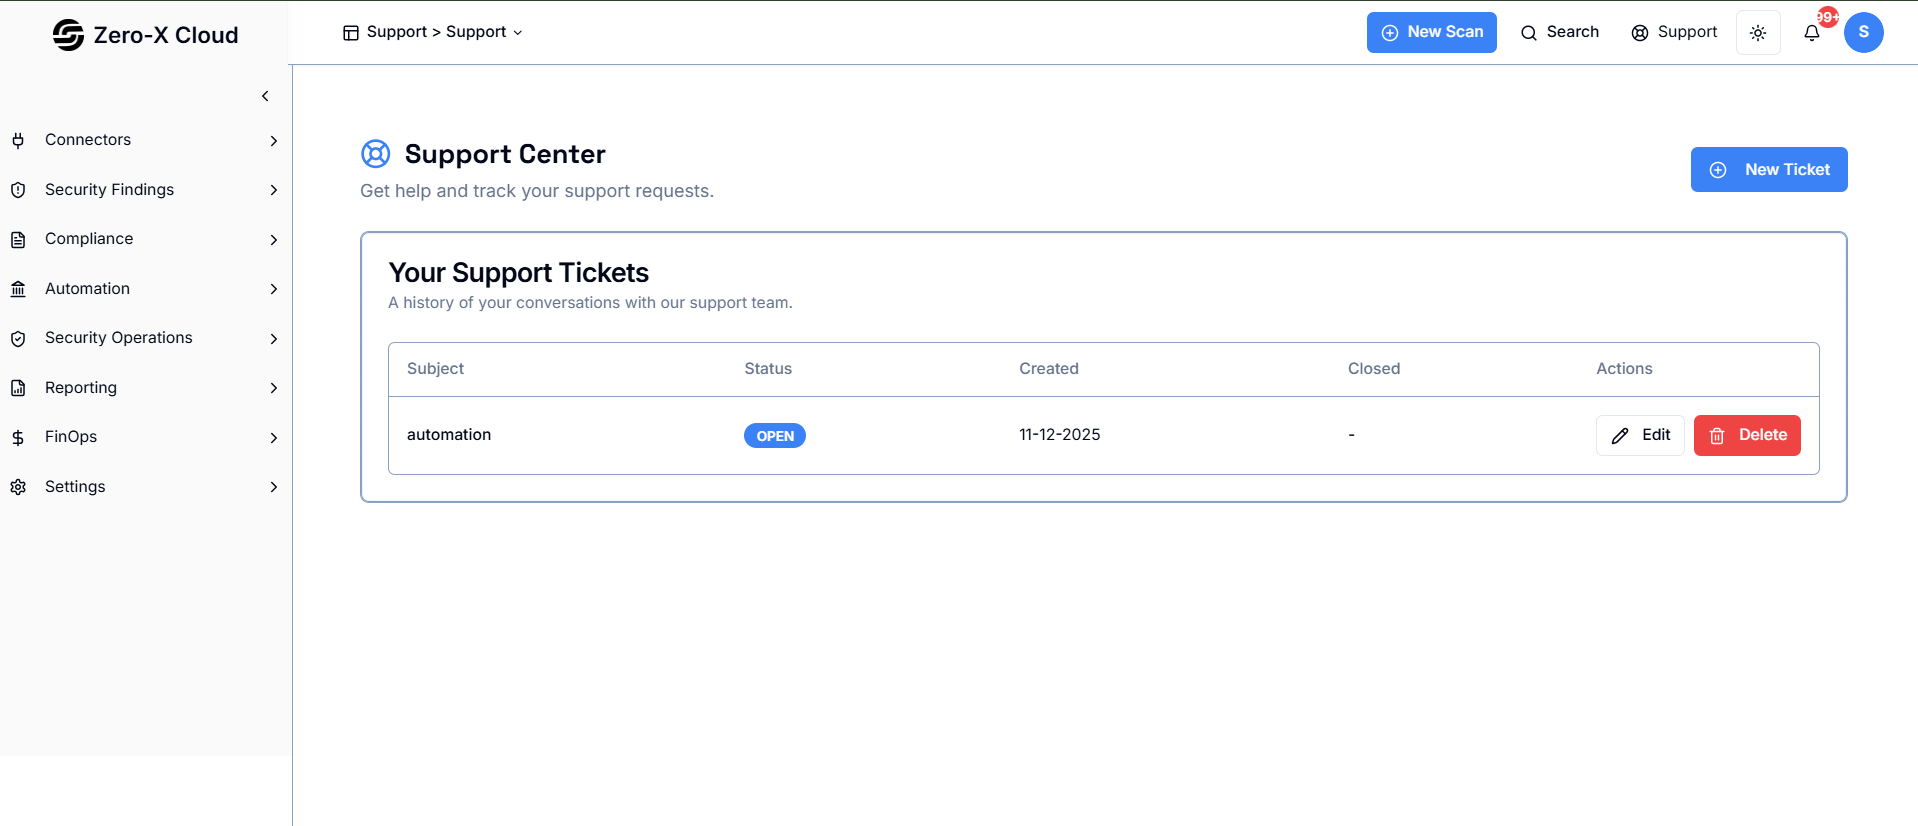
5. Ticket Status
> OPEN :– The ticket has been created and is awaiting review or action.> CLOSED :– The issue has been resolved, and the ticket is marked as completed by the support team.
Users cannot manually close tickets; closure is performed by the support team.